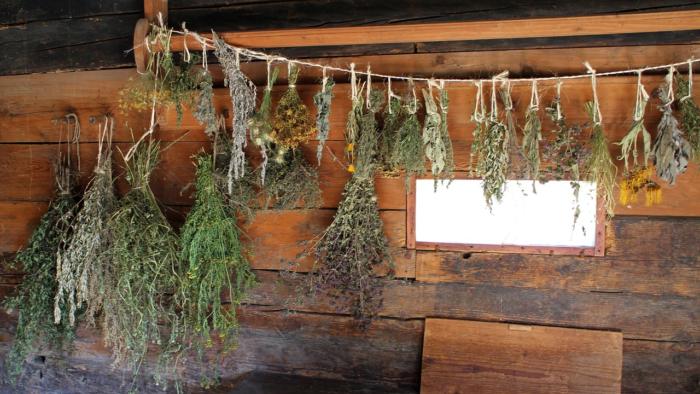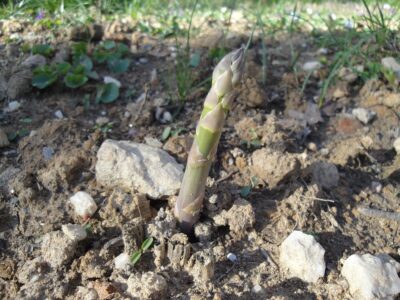
The Tip of the Spear
How exciting to see new asparagus spears emerging from the ground with warming spring weather! But, as with icebergs, most of what asparagus is all about happens below the surface (of the ground). This article provides tips for producing healthy crops in your own garden over a long period of time.
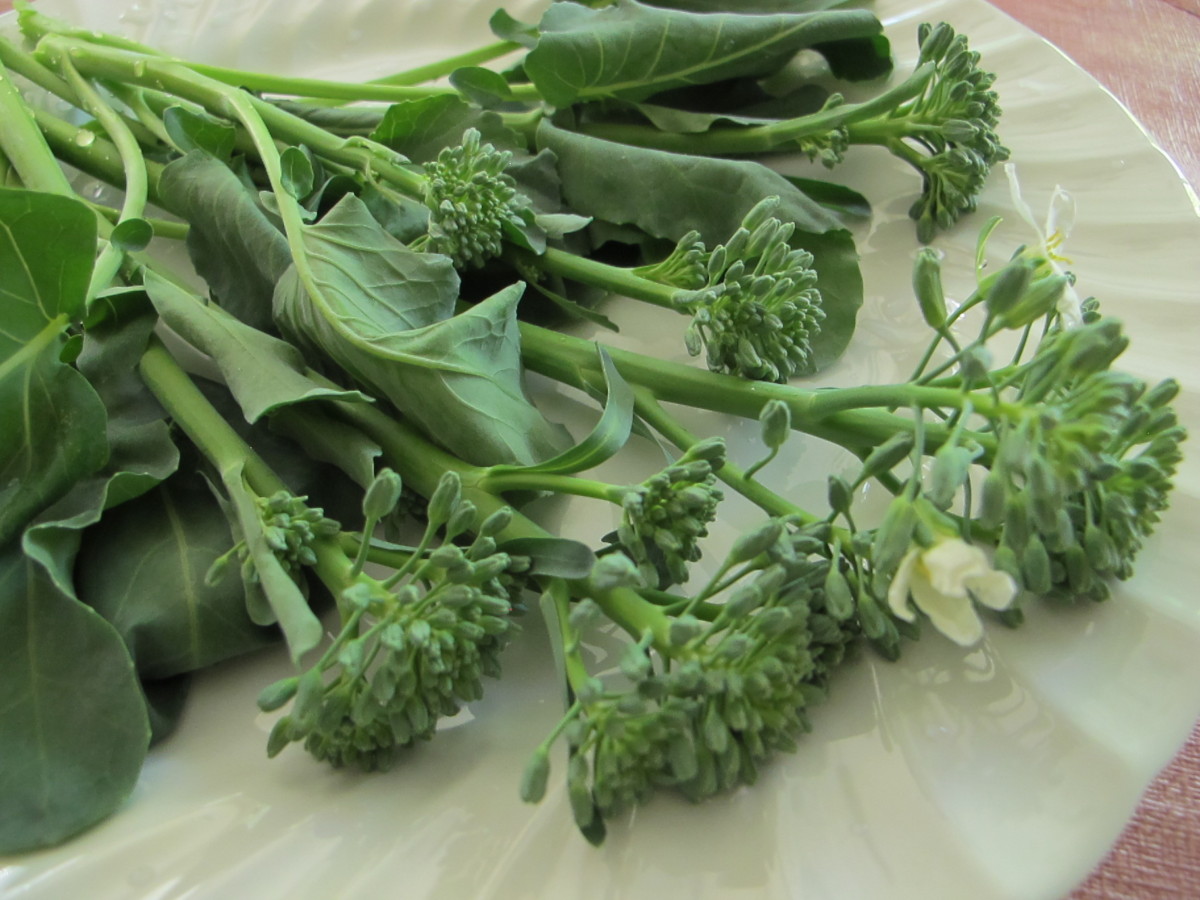
Asparagus is a herbaceous perennial grown in USDA zones 2 through 9. This spring, a 2-year-old bed produced beautiful thick spears for 2 dinners and 2 small freezer bags. Normally, we don’t start harvesting asparagus until the third year, but I couldn’t resist… Next year, it should produce a few weeks longer.
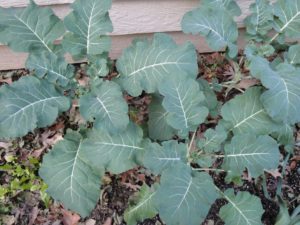
In the fourth year and thereafter, a healthy asparagus bed can be picked for up to 8 weeks. For the rest of the summer season, ferny growth stocks the root system with nutrients that will fuel next year’s growth.
Because these plants can last 15-20 years or longer in the garden, it’s worth paying special attention to soil preparation.
Cut asparagus is readily available in early spring, when it’s least expensive in grocery stores. After a few weeks, however, the price triples. For that reason and because I like harvesting unsprayed fruits and vegetables from my yard, it was time to plant an asparagus bed. Plus, I now have the space, and never turn down an opportunity to reduce mowing time.
Preparing the Asparagus Bed
I chose a spot that gets 10 hours of direct sun each day during the growing season.
Asparagus suffers less root disturbance if it’s grown in a bed of its own rather than mixed among other seasonal vegetables. The airy fernlike growth can reach over 5′ tall, so keep this in mind if planting shorter plants that need sun in the next bed. I live in the northern hemisphere, so tall plants (pole beans, ‘Sugar Snap’ peas, staked tomatoes) go on the northern end of each garden.
In early spring of 2023, I planted 10 robust crowns of 1-year-old Asparagus officinalis ‘Millennium’ from Johnny’s Selected Seeds. This variety comprises mostly male plants, reducing the chore of thinning out young seedlings that eventually crowd the bed. The crowns had multiple buds—dormant but visible—and the roots stretched about 12″ long.
There was no indication of fusarium, a disease that turns root interiors brown. Check a few roots by cutting them; they should be white inside. Destroy infected crowns. ‘Millennium’ has intermediate resistance to rust, another fungal disease.
For asparagus, thorough soil preparation results in highly productive harvests. I strongly believe in getting the soil in optimal condition for stress-free trees, shrubs, perennials, vegetables, and flowers. Robust growth, relatively few insect problems, and bountiful harvests attest to the extra effort. Amending heavy clay, sandy, or rocky soil is quite the challenge, but the payoff is always worth it.
Soil Testing
PH should be slightly acidic to neutral, in a range from 6.5 to 7.0. If in doubt about the pH of your soil, have it tested by your local agricultural extension service (the Master Gardeners). Do this a few months before planting, if possible, and add agricultural lime according to the results and your extension agent’s recommendations.
Clearing the Surface
The area where I originally planted the asparagus was grass and weeds. I stripped the top layer of soil, including all vegetation, from a plot measuring 4′ x 15′, setting it aside for later use.
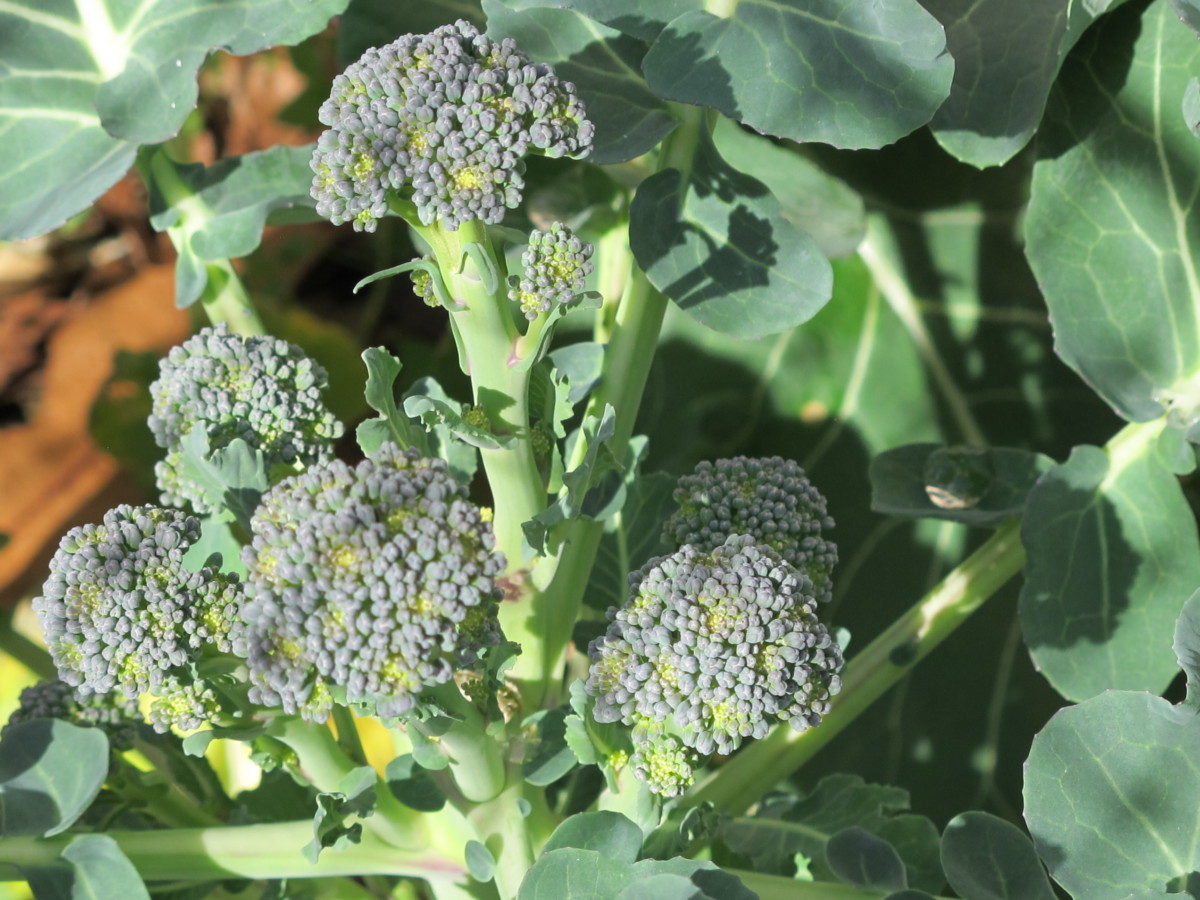
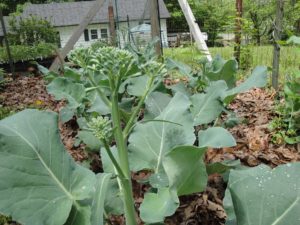
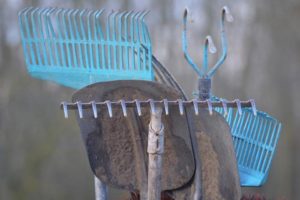
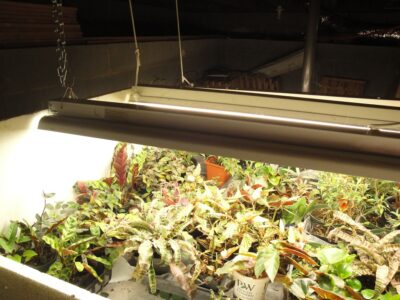
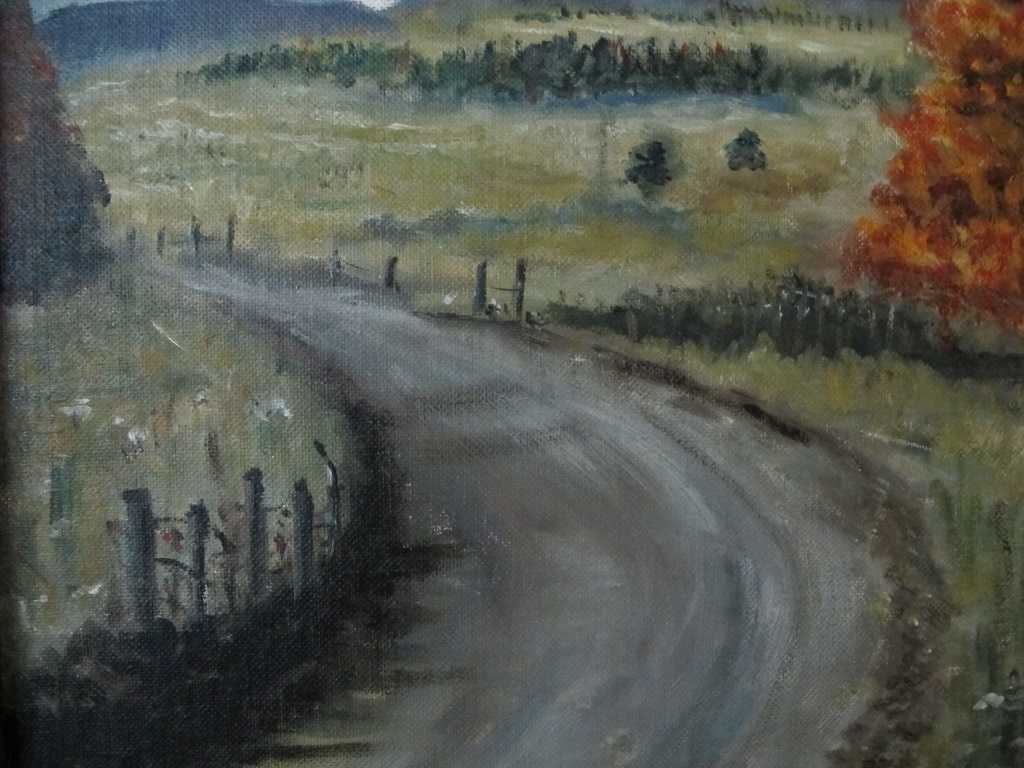
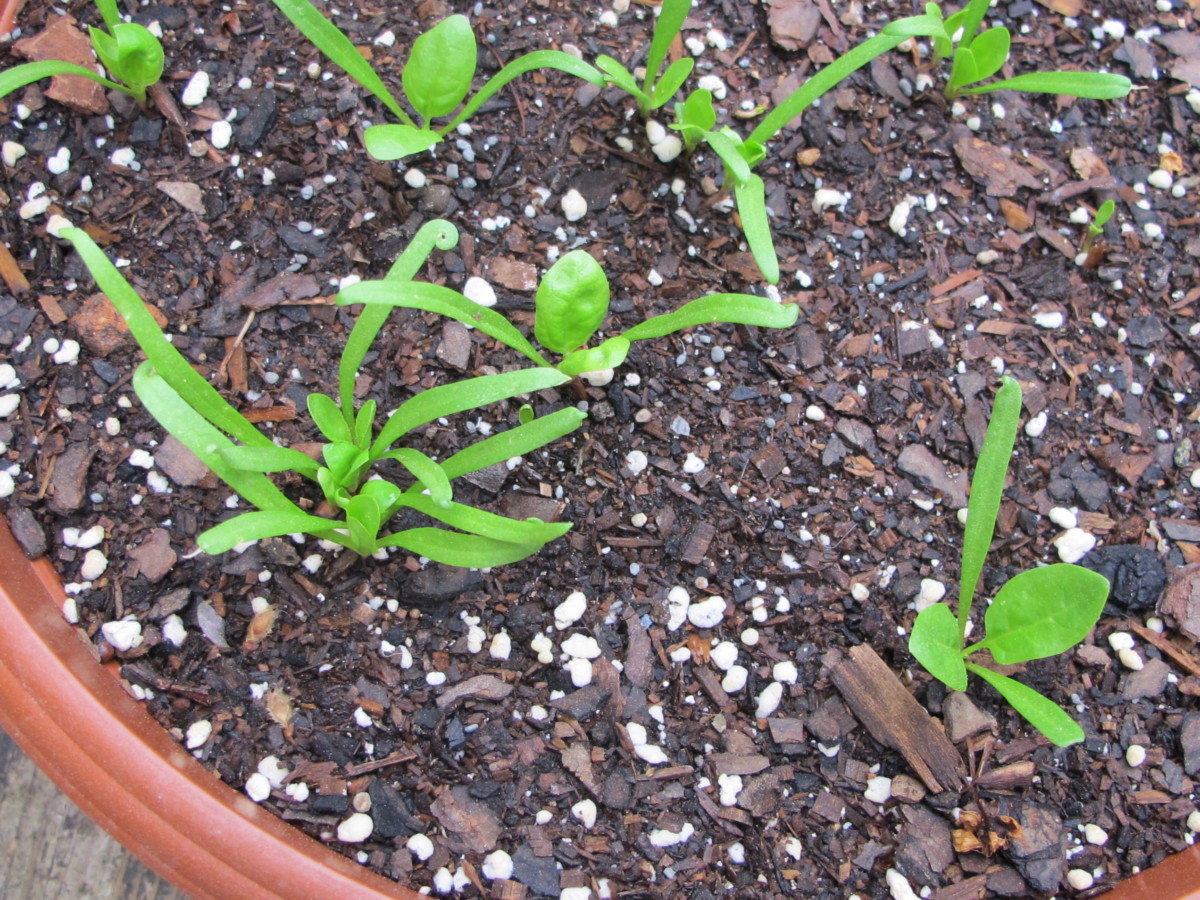
The area is close to a vein of quartz running through the back yard, so a large quantity of rocks larger than 3/4″ was removed. You’ll notice in the photo at the top of the page that I missed a few! Over time, as more rocks work their way to the surface, they’ll be removed.
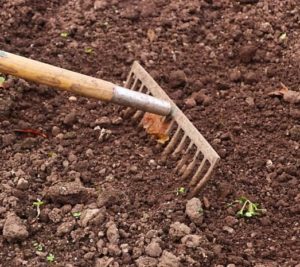
Excavating the Asparagus Bed
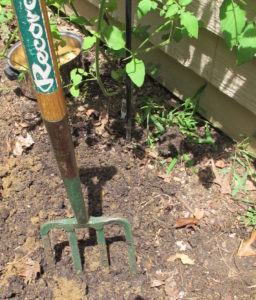
A garden fork I’ve used for decades.
With a sturdy garden fork, I dug out almost 24″ of native clay and set it aside, separate from the surface vegetation. Then, in the bottom of the trench, the vegetation removed from the surface was mixed with small twigs, oak leaves, old potting soil, leaf litter from the woods, pine fines, and some of the excavated clay soil.
Weeds that low in the ground will die and decompose. But if they ended up within 6-12″ of the surface, dandelions and other long-rooted perennial weeds could grow back.
Continuing To Fill the Trench
I added more materials to the trench, including about 200 pounds of coarse (large-grained) sand, more oak leaves and leaf litter, purchased planting mix, and the excavated soil. Mixing the materials rather than layering them produces a medium that drains consistently through the soil profile.
Organic matter decomposes in the soil, thanks to the huge populations of microbes thriving in organically rich soil. Living microorganisms fare much better when we don’t regularly add chemical products.
Earthworms also help themselves to this bounty. They consume soil and organic matter, excreting nutrient-rich castings and beneficial microbes. As they tunnel through the ground, they improve percolation. Air, water, and roots can more easily penetrate the soil.
You’d think that adding all those oak leaves would acidify the soil, but once they begin to decompose, they’re slightly acidic or close to neutral. Cow manure helps nudge the pH a bit higher. Peat moss acidifies the soil, so I didn’t add any other than the small amount in the amendments.
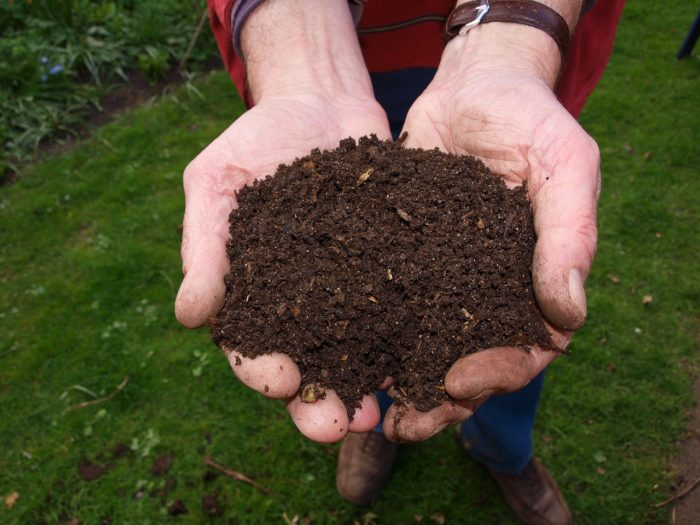
With the surface of the bed almost level with the ground outside the bed, I incorporated 150 pounds of aged cow manure in the top 6-8″ of improved soil. Rain and irrigation move nutrients lower into the soil, where roots can absorb them. I lightly firmed the soil as I added materials to the trench.
All these amendments raised the surface of the bed several inches. It will settle somewhat as the organic materials compress and decompose.
Planting the Asparagus Crowns
Laying Out the Bed
Once the trench had been almost filled and lightly firmed, I spaced out locations for the crowns. Catalogs recommend planting them 10-14″ apart. But I’ve read that more generous spacing can lead to a longer-lasting planting. Now in my 70’s, I want to be able to pick asparagus from this bed for the rest of my life, but 30 years will do!
The bed is wide to accommodate a zig-zag pattern for the crowns spaced about 24″ apart. An old native dogwood tree off the west end and a Japanese maple off the east end of the bed limited the length of the asparagus garden; hence, the zig-zag pattern.
I spread the long roots over a raised cone of soil in the trench, with the dormant stem buds at the top. Amended backfill was pulled over the roots, so only about 1″ of soil covered the crowns.
Suppliers sometimes recommend planting 10 plants per person.
The First Year
For the first summer of this planting, I watered heavily (1½”) when there was no rain for a week. The ferns grew well, although I didn’t pick any of the spears.
A thick layer of the previous autumn’s oak leaves covered the bed all summer. Much of it decomposed and was incorporated into the soil by earthworms. Mulch conserves moisture, suppresses weeds, cools the soil, and contributes organic matter. Oak leaves on the property are plentiful and free, so I collect white and willow oak leaves in autumn. They’re stockpiled near the woods or stored in large bags placed outside, against the basement wall.
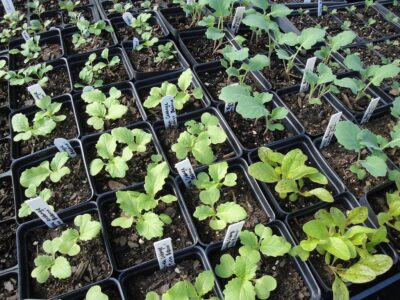
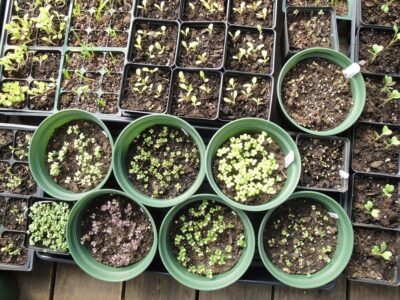
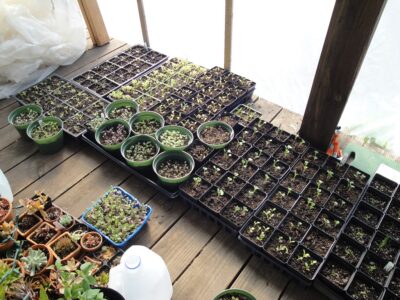
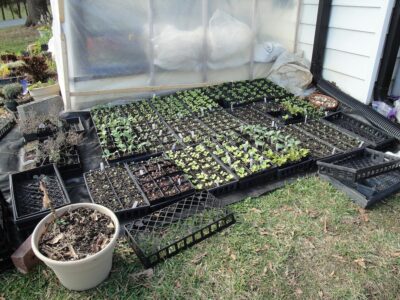
In late April of 2023, high winds and hail from an F1 tornado flattened the 4′ tall ferns to the ground. Large hailstones battered the stems, leaving them pocked or broken and the greenery shredded. After a while, new stems grew from the ground. Using branches from the woods, I propped up any existing ferns that looked as though they could still photosynthesize. Dozens of flats of vegetable seedlings—destined for the farmers’ markets—growing near the asparagus bed were destroyed (photo, below).

The Second Year of the Asparagus Bed
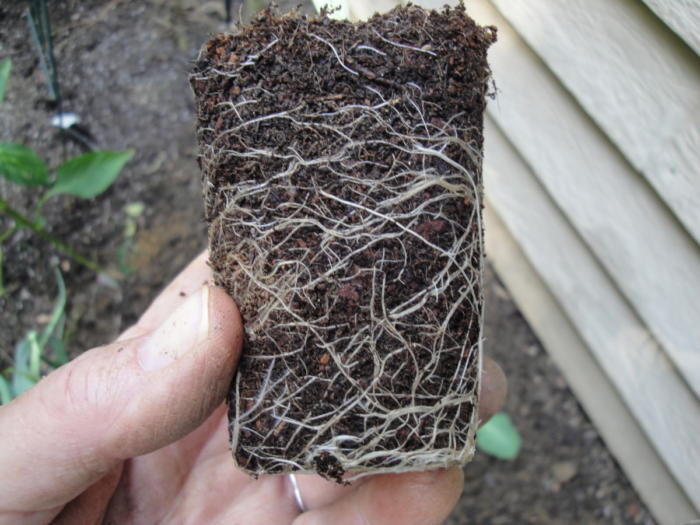
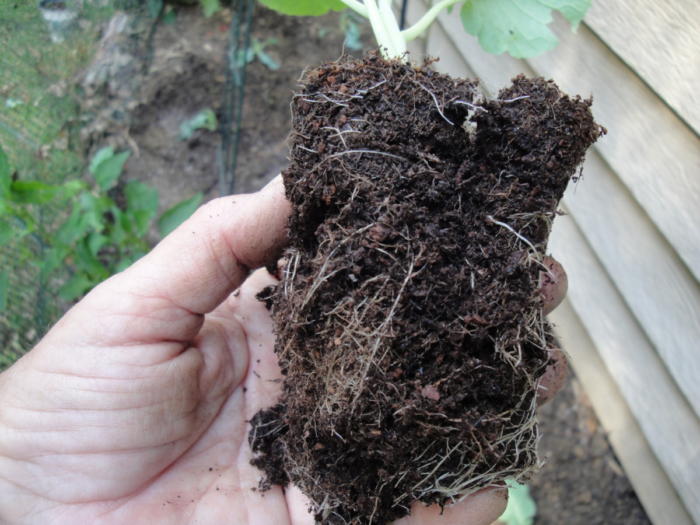
Each plant grew an impressively vigorous root system in the first year. The reason I know this is because I needed to move the plants to make room for a small greenhouse.
The Japanese maple I’d brought from Maryland and kept potted for 10 years before planting it here needed a new location as well. Because the maple would soon begin leafing out, I dug it out first and replanted it in the front, near the street. It survived abnormally hot weather as it began growing leaves, but the uppermost twigs died off despite frequent watering. We’ve had a 6-week drought—with high heat, no less—but it finally rained a few days ago.
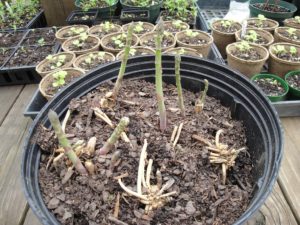
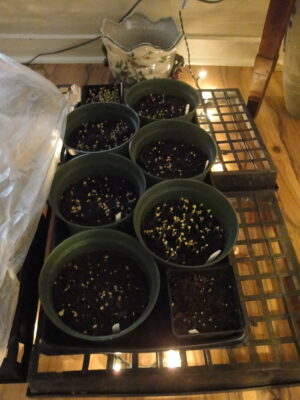
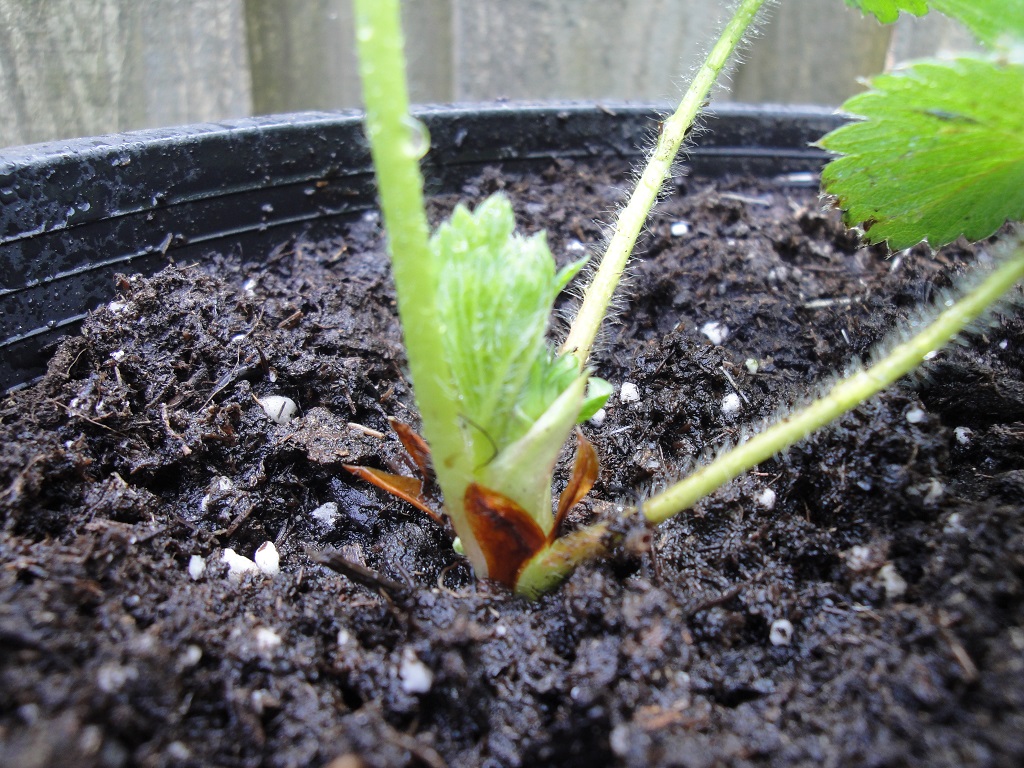
When moving the asparagus plants, I made a few divisions and temporarily planted them in this pot.
Moving the Asparagus
The new location for the asparagus bed is about 25′ from the original plot, farther from the quartz deposit. I dug a new trench, of course, taking all the enriched soil from the old bed and moving it to the new excavation. And I supplemented with more aged cow manure, planting mix, and half-decomposed leaf litter from the woods to the north.
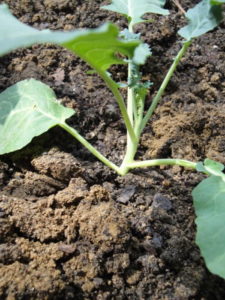
I dug each substantial clump and planted it after opening a hole in the new bed. This exposed the roots to the air for only a brief period of time. At the time of the transplant in late winter, the asparagus was still dormant. Again, I set the root ball so the crown would end up only 1″ below the surface, firmed the soil, and watered them in.
After the sun had started warming the soil and as weed seeds began germinating, I mulched with dry oak leaves saved from last autumn.
Every few weeks (three times), I pulled the mulch aside and added 1″ of compost, excavated soil, and cow manure over the early spears. This encourages the plants to grow thicker spears. Shallow planting results in thin spears. They won’t need more soil, but each year, I’ll add a few bags of aged cow manure and compost under the mulch.
Avoid burying the crown too deeply at the beginning. There might not be enough energy stored in the roots for the spears to grow to the surface before they fail.
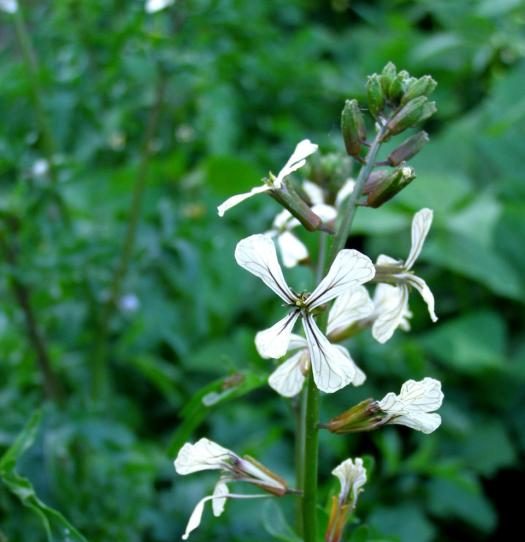
Male Or Female Plants for Better Asparagus?
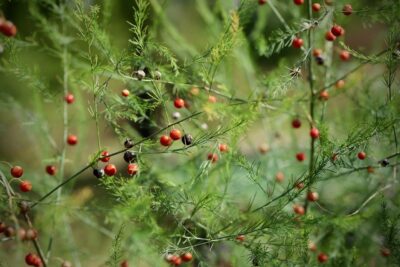
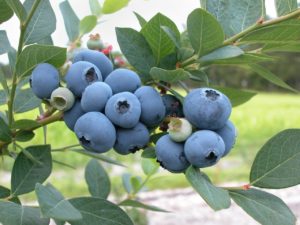
Asparagus berries, with seeds inside.
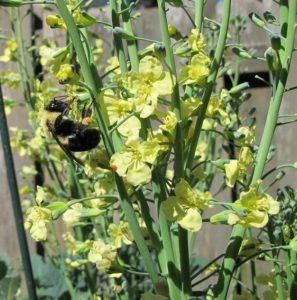
Asparagus is dioecious, meaning an individual plant is either male or female. Both male and female plants flower, but males lack the reproductive parts to make berries and seeds. Here in the Piedmont of North Carolina, the plants flower in late spring to early summer.
As new varieties become available, the preference among growers leans toward male plants. Females grow thicker stems, but males grow more of them. Male plants live longer, according to the University of Illinois. Some of the older varieties, such as the ‘Jersey’ series, are being retired by propagators.
Females have small green-to-red berries that need nourishment. They consume resources that instead could have contributed to foliage or root growth. When the seeds drop to the ground and germinate, they cause crowding within the bed. Consequently, extra effort is required to maintain adequate spacing between plants. The berries, by the way, are toxic to humans.
The ‘Millennium’ crowns I received last year and this year are about 75% male plants. I planted 10 last year (a few females) and potted up the rest to sell at the farmers’ markets. In the future, I’ll hold the confirmed female plants aside and plant them together in a bed of their own. Removing the berries would solve the problem of crowding.
I might experiment germinating the seeds. ‘Millennium’ is a hybrid, so the offspring could vary from each other, but I think the differences would be negligible. These plants will not be sold, but kept for my own use only.
Asparagus started from seed takes an additional year to grow before beginning the harvest. Seed suppliers offer seeds of named varieties.
White and Purple Asparagus?
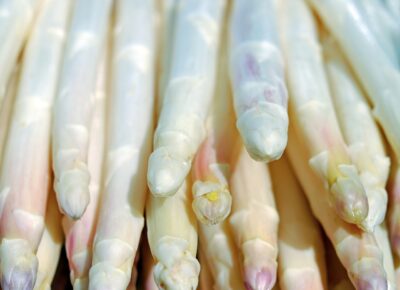
White asparagus has been blanched, or covered with soil to prevent light from reaching emerging spears. Deprived of light, they can’t form chlorophyll, so they grow white. They are more tender but have slightly reduced nutrient levels.
Purple asparagus varieties are available. ‘Erasmus’ is 100% male, and ‘Purple Passion’ comprises 60% male plants.
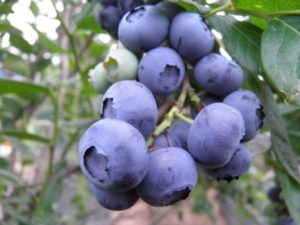
Purples have the advantage of additional antioxidants—the anthocyanins. Anthocyanins (pigments that make leaves and fruits red, blue, or purple) can boost cardiovascular health, help prevent cancer, and help regulate blood pressure. Berries—strawberries, blueberries, blackberries, and raspberries—also have high levels of anthocyanins.
Asparagus Nutrients
Asparagus is a low-fat, low-calorie vegetable. Half a cup of plain asparagus contains:
- 20 calories
- 3.7 grams of carbohydrates
- 1.8 g. fiber (mostly water insoluble, helping with regularity)
- 2.2 g. protein
- some vitamins A and C, iron, potassium, and phosphorus
- 51% of the daily recommended amount of vitamin K. Because of the high vitamin K content, consult a registered dietician if you’re taking blood thinners.
- 34% of the recommended folate
- 11% of the recommended riboflavin (B2)
A Healthy Gut
Asparagus aids our digestive health by eliminating toxins from our large intestine. It’s a source of inulin, a prebiotic fermentable fiber consumed by beneficial gut bacteria, which, in turn, suppress harmful species of bacteria.
Several intestinal problems can be helped by consuming asparagus (check with your doctor or dietician). While not as effective as beets, okra, kale, and collard greens, asparagus does moderately well in binding bile acids in the intestine. Asparagus can help repair intestinal damage from Type 2 diabetes, obesity, and gastrointestinal diseases.
You’ve probably heard of the benefits of a “healthy gut”, and asparagus is among the best foods to achieve this. These advantages help prevent cancer and heart disease.
Consuming asparagus can produce the strong smell of sulfurous compounds excreted in urine. The odor is from amino acids (asparagusic acid). Some people have the genes that give them the ability to detect the smell, which is perfectly harmless. Asparagus is mildly diuretic, helping to regulate blood pressure.
Young, thin spears eaten raw can cause contact dermatitis in sensitive people.
Yearly Maintenance of the Asparagus Bed
Once the asparagus bed becomes established, there isn’t much you’ll need to do:
- Provide water if there’s prolonged drought. Asparagus roots grow deep into the soil, taking moisture stored there. They store water in their fleshy roots and can overcome a couple of weeks of dry weather.
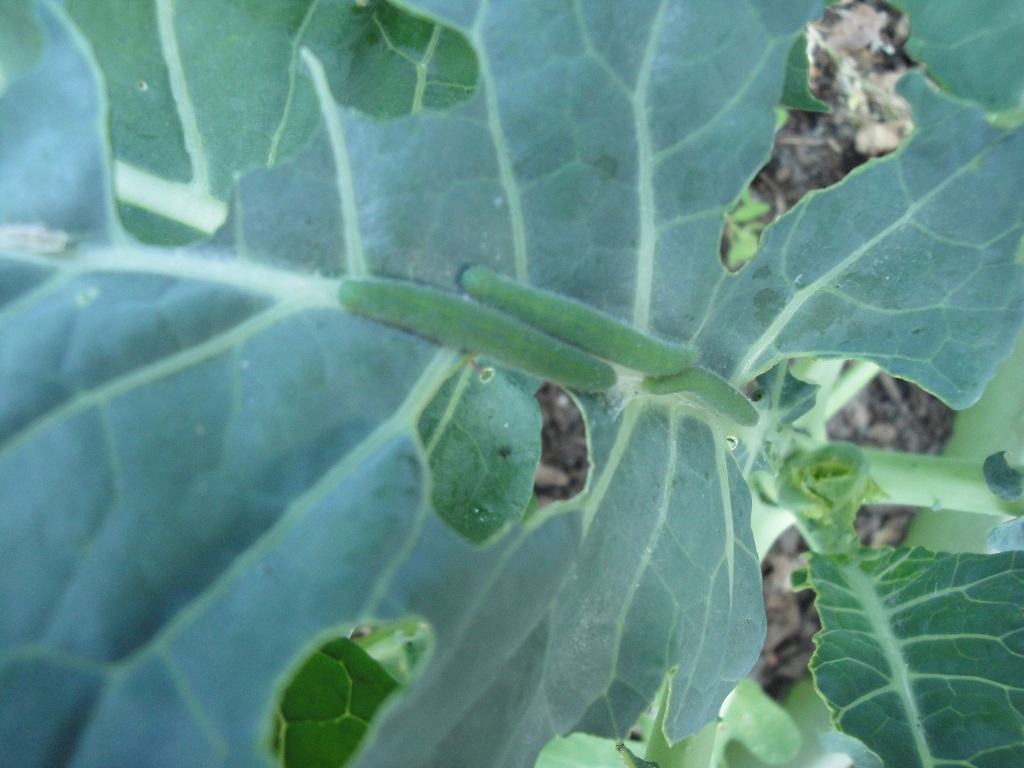
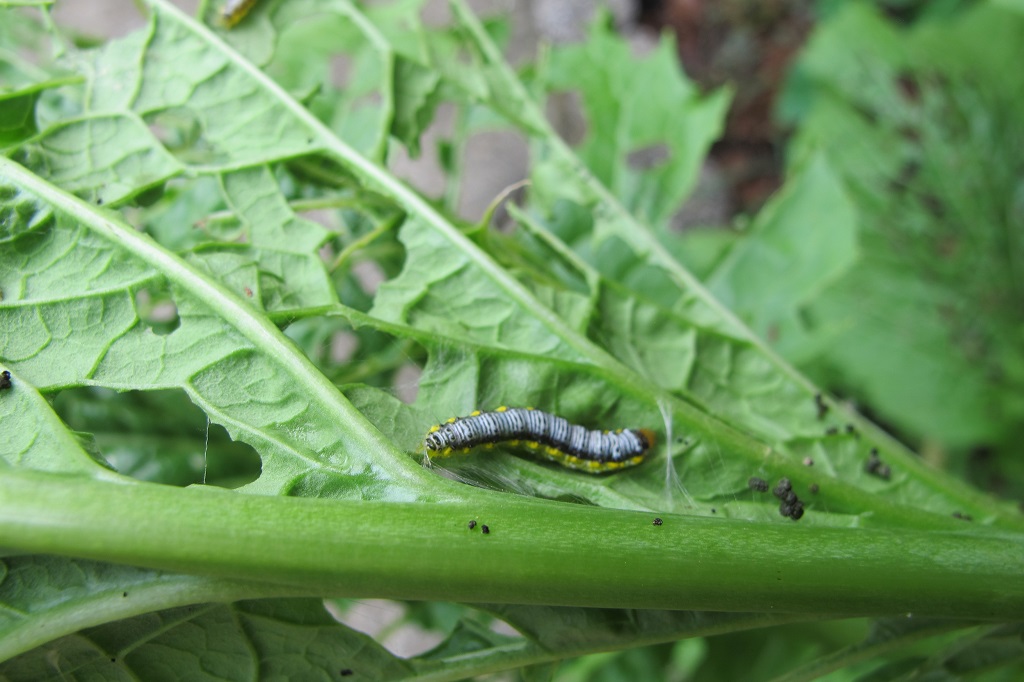
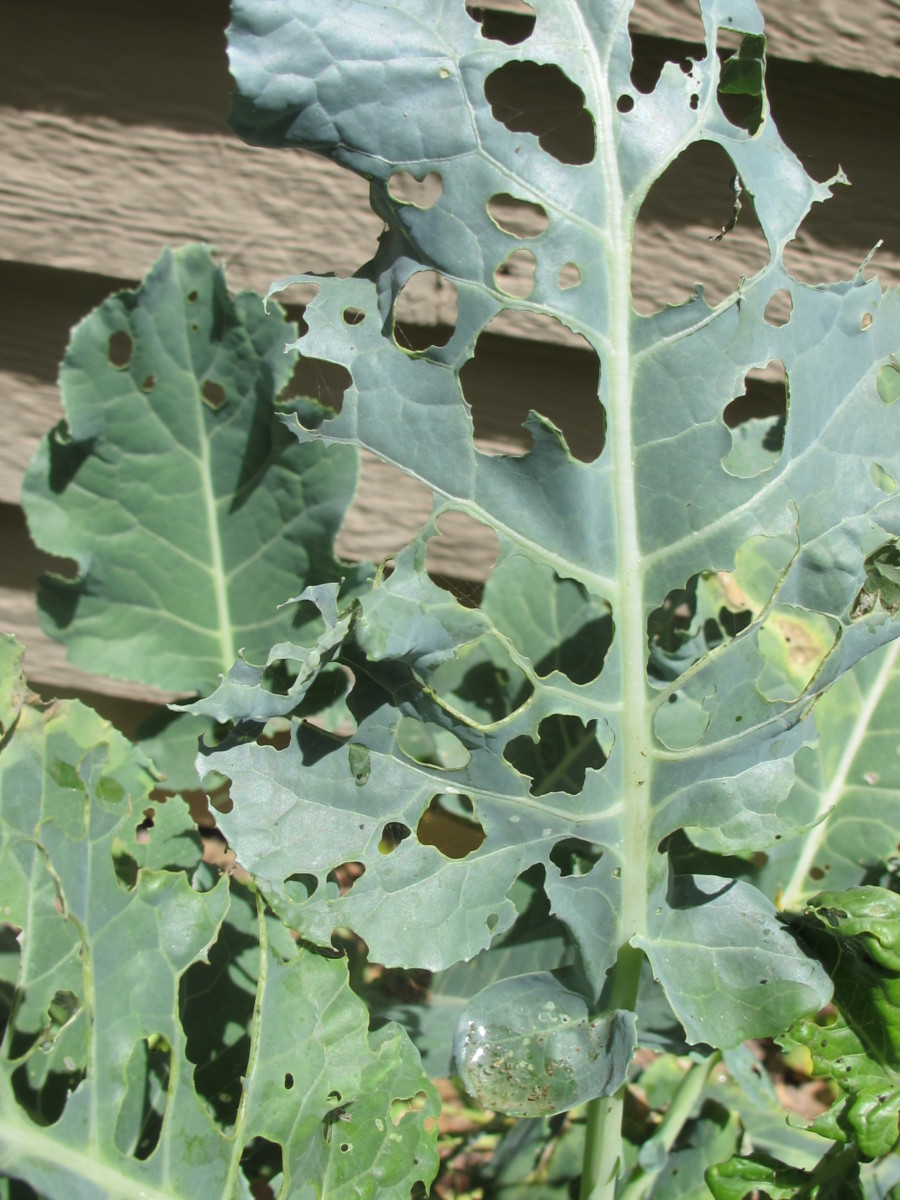
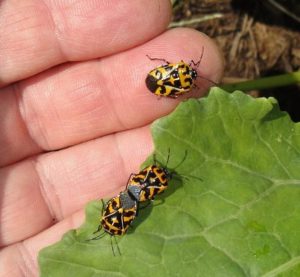
- Address issues with insects early on to prevent widespread damage.
- Fertilize with 8-8-8 or 10-10-10 (N-P-K), or similar organic fertilizer, after harvesting the spears, but not late in the season. If the soil test indicates sufficient phosphorus (P), find a fertilizer low in the middle number. Look for a higher percentage of nitrate nitrogen (N), rather than urea or ammoniacal N. That information is on the label. Urea and ammoniacal N slowly lower the pH, making the soil more acidic. Nitrate N slowly raises the pH over time, preferred by asparagus.
- Topdress the bed once or twice a year, in spring and early summer, with aged manure and compost.
- Weed the bed.
- After a freeze kills the ferns, cut them at soil level and remove from the bed.
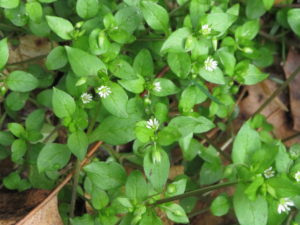
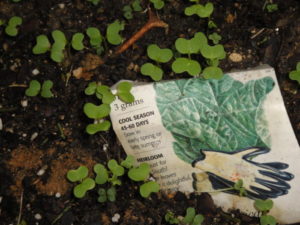
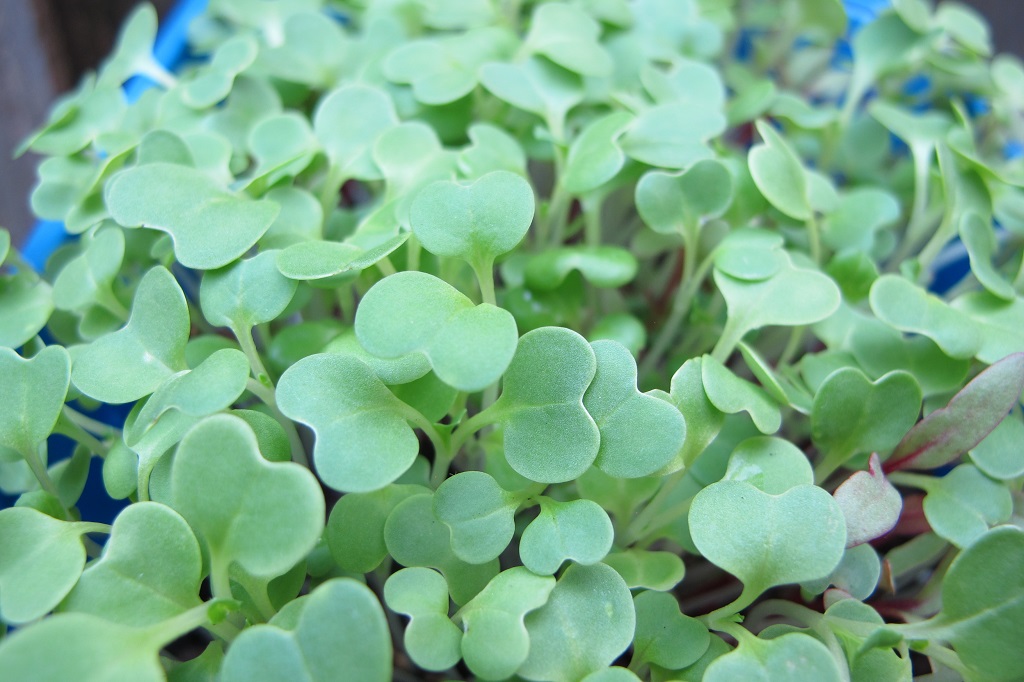
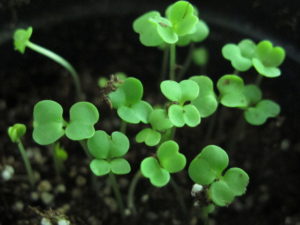
Chickweed, an edible annual cool season weed.
Concluding
Doing extensive groundwork when planting this vegetable will reward you and your family long into the future.
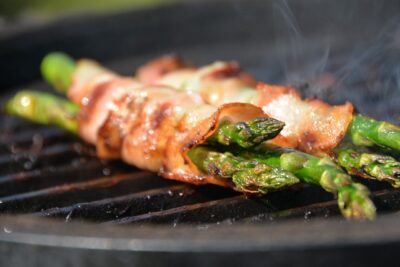
How to cook it:
- Enjoy your asparagus steamed, adding butter and a dash of salt.
- Occasionally, I incorporate lightly cooked asparagus neatly lined up in an omelet (use thin spears or cut larger ones in half, lengthwise).
- Grill or stir-fry it.
- Steam it, adding butter and minced garlic, and garnish with grated Romano cheese.
- Use it in pasta primavera with other spring vegetables.
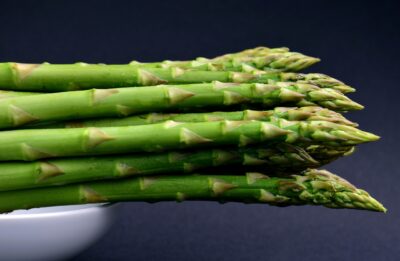
No matter how you prepare it, asparagus is an elegant, delicious springtime vegetable. Something to look forward to for the next 20 years, or maybe 30…
Enjoy!


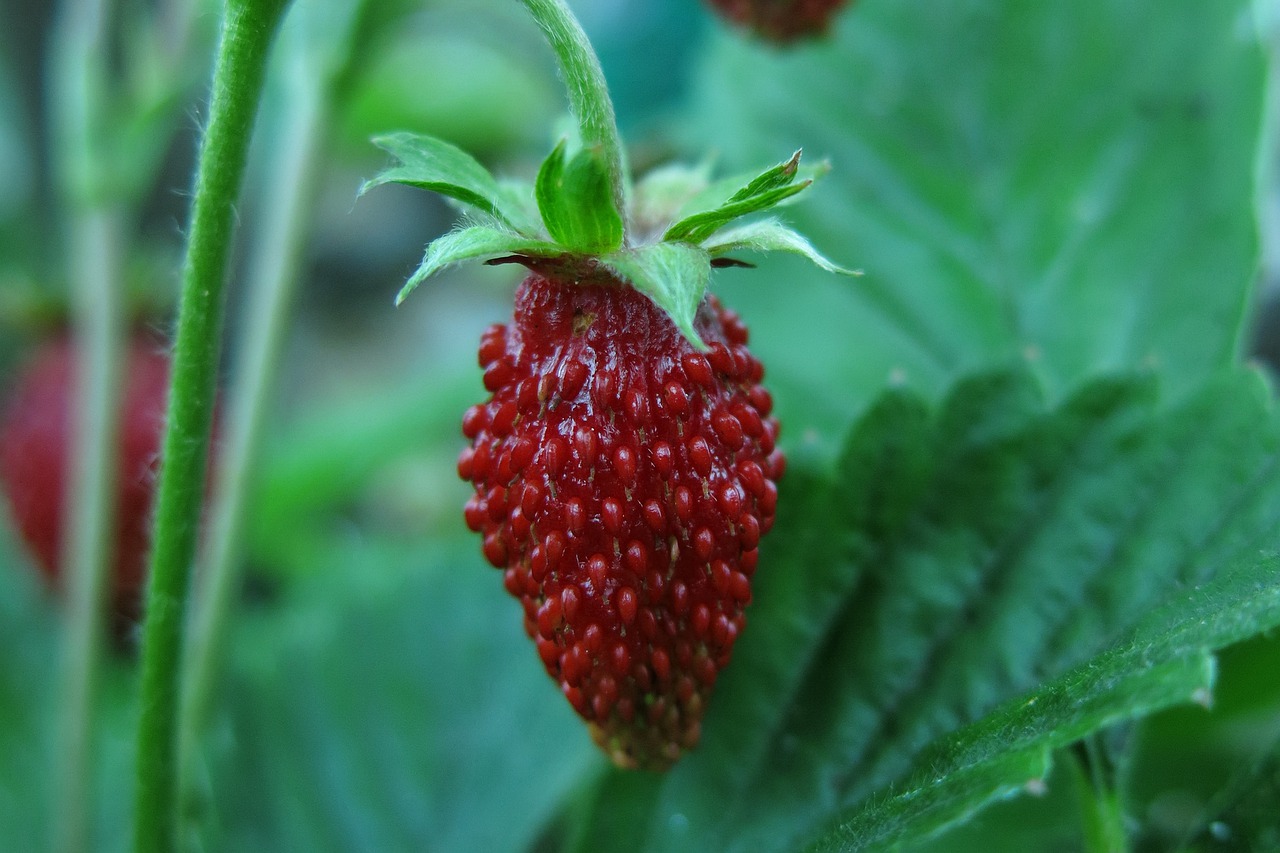
 Find garden space that gets full sun for the best yields. Strawberries start growing before the end of winter, when the sun is still low in the sky. Take this into consideration when locating your garden. In partial sun, foliage and fruits might be plagued by diseases that ruin the crop.


 In a medium frying pan, add about 2 Tbsp. thinly sliced onion and 1 or 2 Tbsp. olive oil. On medium heat, cook and turn until onion is transparent to a light golden color.