Page 2
As Amaryllis Plants Grow This Summer
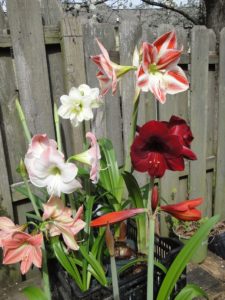
I’ve grown some of these amaryllis plants since the 1990’s.
Flowering and less than ideal growing conditions deplete nutrients in the bulb. You might have noticed how the bulb appears to have shrunk, leaving a smaller core under the withered scales. Ideally, move plants outdoors in the spring, after danger of frost has passed. This gives them a longer growing season.
Providing good growing conditions now will help plump up the bulb for the next bloom cycle. The goal is to grow that bulb as large as possible, which means flower buds will develop inside. Fertilizing the plants is necessary to achieve that goal. Fertilize monthly until mid- to late summer and keep the soil moist but not wet. Any formulation intended for flowering plants that also contains iron (Fe) and magnesium (Mg) should suffice.
Amaryllis plants that must remain potted, if you don’t have garden space, will do well outdoors on the balcony. Give them several hours of direct sun. Keep the soil moist, but not wet, and fertilize every 3 weeks. It’s sometimes hard to believe that so much foliage and so many flowers can come from such a small pot! Plants that have been fertilized and watered regularly don’t mind being potbound.
If your amaryllis must stay indoors, give them as much direct sunlight as you can. Supplemental artificial light helps. Fertilize monthly, diluting the solution to 1/2 to 2/3 the strength recommended on the label.
The Process
Whether you need to repot amaryllis plants now or you’re planning ahead for the arrival of fresh bulbs in autumn, the growing cycle is the same. Mimic the sequence of steps in the plant’s natural growth cycle, assuming dormancy in autumn.
The Growing Cycle Indoors
- After potting up, plants usually begin blooming near the end of the calendar year (northern hemisphere), before leaves appear.
- Amaryllis plants leaf out after flowering in winter and spring. If new leaves grow while the plant is still producing flowers, let them remain. Exposing the leaves to sunlight keeps the plant healthier; they can become quite floppy in lower light and are prone to cracking. Direct sunlight also strengthens the root system.
- Fertilize well-rooted leafy plants monthly with 1/2-strength soluble fertilizer while the plants are indoors in winter.
And Then Outdoors
- Place plants outdoors in spring after the last frost.
- Keep the plants moist, but not wet.
- Fertilize monthly until mid- to late summer to encourage more foliage to grow and flowers to develop inside the bulb. Use dilution rates indicated on the label.
- Plants will go dormant later in the season, either naturally or by “persuasion”. Dig up the bulbs you planted in the garden by early September to early October to persuade them to enter dormancy. Keep some soil on the roots. I keep plants outdoors as long as possible in order to get the maximum number of flowers, even if that means delayed bloom. Bring plants indoors if frost threatens.
- Place unearthed bulbs on several layers of newspaper in the basement or garage. Keep them dry, cool but frost-free (48-55° F), and dark during the 6-to-10-week dormancy. Gently remove most of the old soil as it dries. Remove old leaves as they turn yellow.
- Similarly, remove plants from their pots, and allow soil to dry. (Some years, I keep bulbs in their pots during this dormancy period.)
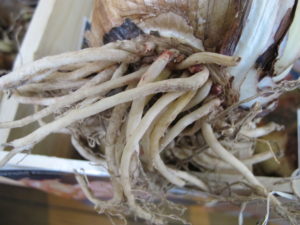
- Cut off the dried roots. Growing new roots on a dried bulb can be the most difficult step, so I prefer to repot bulbs before all the fleshy white roots have died off.
- Plants will flower in 5 to 12 weeks, depending on variety, timing, growing conditions (especially temperature), and health of the plants. Larger Dutch-grown bulbs take longer to flower (8 to 12 weeks) than South African-grown varieties (5 to 8 weeks).
Potting Up New Amaryllis Bulbs
One of my favorite times of the year is when fall bulb catalogs arrive in the mail, with garden centers proclaiming, “The bulbs are here!” soon after that. I wonder which of the spring-flowering bulbs and amaryllis will entice me this year!
Check with the garden center for new amaryllis bulbs. However, if it’s impractical to start them yourself, you can purchase potted plants in various stages of growth.
Step-By-Step
- Buy new amaryllis bulbs in the fall. Look for large, firm bulbs with little or no sprouting and no red streaking or discoloration. If they have sprouted either leaves or flowers, you might have to stake the top-heavy growth to prevent the whole thing from falling over.
- Protect any living white roots but snip off the dead ones. They’ll just rot anyway in damp soil.
- Choose a pot that’s only an inch or two wider than the widest part of the bulb. One of the prettiest amaryllis pots I’ve grown has 3 large bulbs crowded in a heavy clay pot that’s only 6″ tall.
- Potting soil should drain well. Commercially available soil will provide an adequate medium for your bulbs.
- Make a cone of soil in the bottom of the pot, place the bulb on top of it, and spread any live white roots down the sides of the cone. Fill in with more potting soil, up to the neck. About 1/3 of the bulb should remain exposed above the soil level. Firm soil lightly.
- Using lukewarm water for amaryllis encourages rooting. Avoid watering the top of the bulb.
- Don’t water again until growth begins or until the soil surface has dried down 2″ or 3″. If in doubt, take the plant out of the pot and examine the roots. Have they started to grow? Great! Constantly wet soil will rot young roots and possibly also the bottom of the bulb. Replace wet soil with dryer soil. You might need to keep the plant in a warmer location or use a smaller clay pot.
- Grow the plant in a bright, warm location (above 70° or 75° F). New roots emerge very slowly at cooler temperatures.
Something’s Growing!
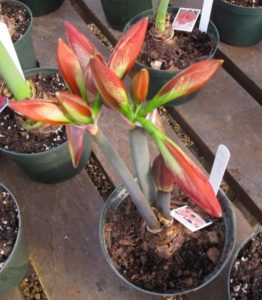
Amaryllis with 3 flower stems
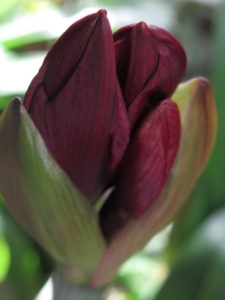
You did it! The new green growth is a flower bud if it’s thick, or a young leaf if it’s thin.
Ideally, the flower stalks will emerge on a well rooted plant. With sparse roots, though, the first flower won’t last as long as those that come later when there are more roots.
Use bamboo stakes or twigs from the back yard if the top-heavy flower stems need support. But don’t pierce the bulb. Tie with raffia, ribbon, or a few lengths of twine, and, finally, top the soil with preserved moss for a finished, custom look.
Snip off individual florets as they fade. Cut the hollow flower stem just above the bulb when all the florets in the flower have withered. Keep your plants in direct sun and wait for another flower scape to emerge.
Warm sun encourages roots and top growth, but cooler temperatures (high 50’s to low 60’s F) preserve the flowers for a longer period of time. But, because they root so slowly, try not to expose the plants to cool temperatures until the pots fill with roots. Be careful not to overwater.
When more foliage starts growing, it’s time to begin fertilizing the plants every month. Refer to instructions under “The Growing Cycle, Indoors”, above. Amaryllis plants need sun, water, and fertilizer for the bulb to recuperate and to store carbohydrates for next year’s flowers. Remember, the bigger the bulb, the more flowers you’ll enjoy. The best place for the plants in the summer is outdoors where direct sunlight will provide the most energy to plump up the bulbs.
At $20.00 or more per budded or blooming plant, it makes sense to keep amaryllis bulbs from year to year. These are truly spectacular plants when in bloom and will last many years with proper care.
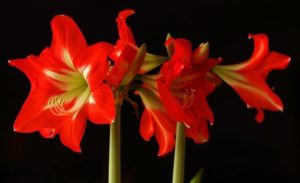
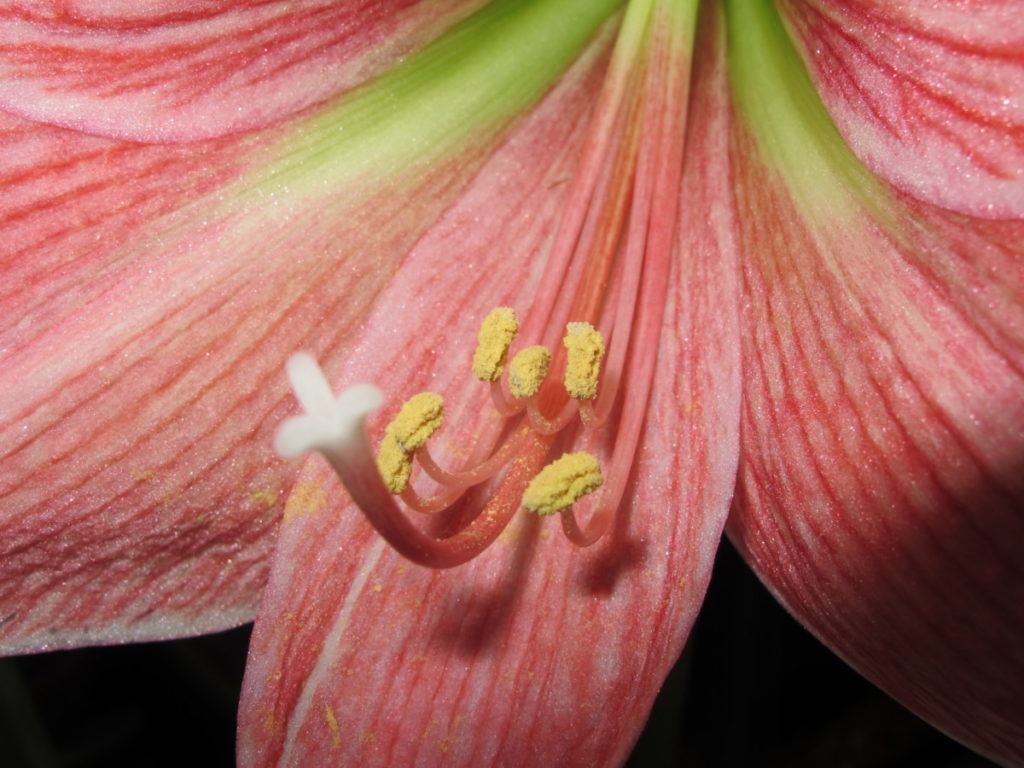
- Amaryllis with yellow pollen and white stigma.
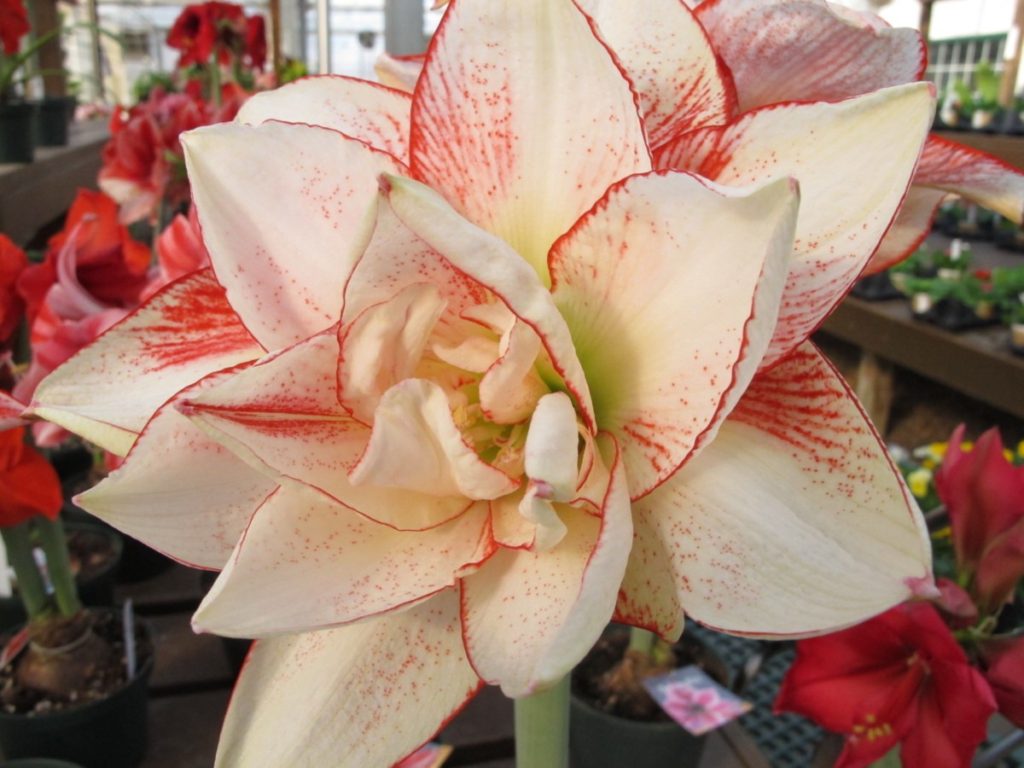
- Double flowering amaryllis.
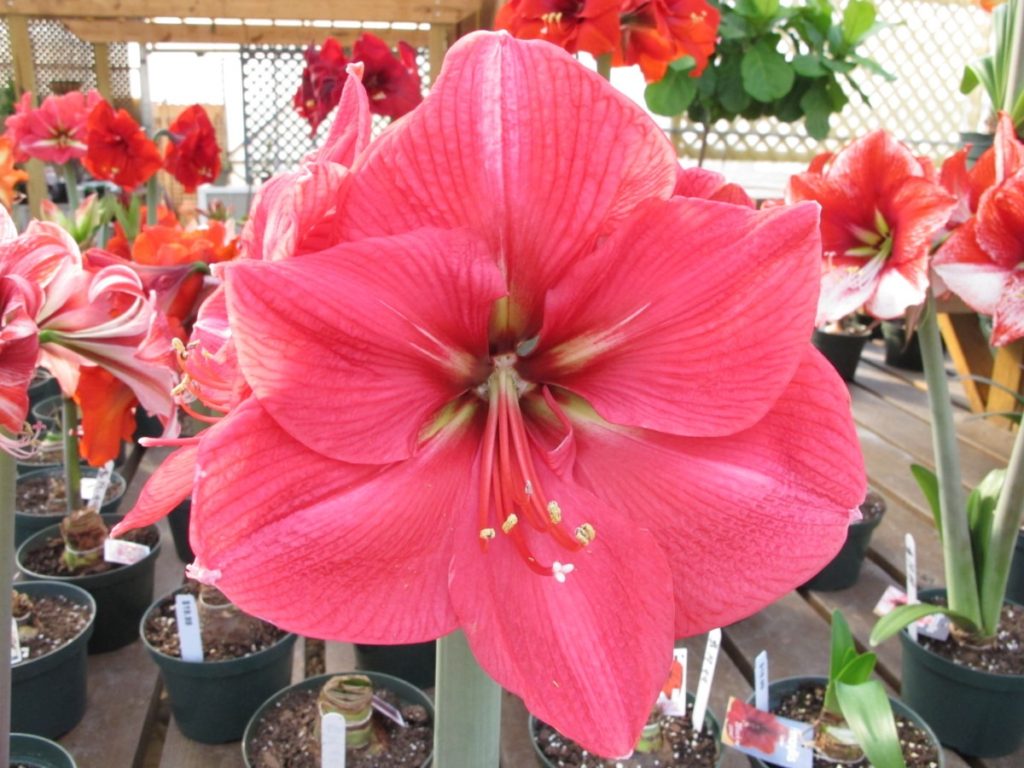
- Hercules amaryllis.
Headings
Page 1: “How do I get the amaryllis bulbs to bloom again this winter?”, A Brief History, You Say Amaryllis, and I Say Hippeastrum, Pollinating the Flowers (Amaryllis Seedpods), and What To Do With Your Plants Now (Red Blotch)
Page 2: As Amaryllis Plants Grow This Summer, The Process (The Growing Cycle Indoors, And Then Outdoors), and Potting Up New Amaryllis Bulbs (Step-By-Step, and Something’s Growing!)
Hi Jane,
I thought I’d let you know that I just added a small section in the Amaryllis article, showing maturing seedpods. So cool!
Enjoy the season….Kim
Thanks, Jane.
Apparently the comments section is working! I appreciate hearing from you, and will get to work on more articles. Have a great spring!
Your blog post was forwarded to me by Lisa. This is so interesting. My goodness but your knowledge is prolific, as, I am sure, are the seeds and plants that grow in your garden. I’ll keep on looking at your posts! As an aside, I grew up in South Africa and had no idea about the different Amaryllis/Hippaestrum bulbs origins. Your attention to detail about both information and the how to of planting and care is excellent. Thank you